Brand - How to Create and Manage Brands
The Brand tool is used to create individually branded forms and email acknowledgement messages. By default your forms display on a page, in your site's look and feel, with a designated header and footer. Use the Brand tool if you have multiple brands and wish to create/maintain a separate identity for each brand by displaying various forms in the look and feel of each brand. This tool also allows you to create branded email acknowledgement messages of user activity.
The following lesson provides directions on how to create branded pages for form display and acknowledgement email messages.
Creating a brand in ONEcount takes only a few steps:
- Create a branded header/footer page in your CMS
- Create a Brand Code
- Plug in the URL for the branded header/footer page
- Enter header and footer text for branded acknowledgement emails
Once your brand is created in ONEcount, simply appending the brand code to the end of the form URL will display the form on the branded page.
BEFORE CREATING YOUR BRAND IN THE BRAND TOOL, YOU MUST CREATE A HEADER/FOOTER PAGE IN YOUR CMS FOR EACH BRAND YOU TO WISH TO CREATE A BRAND CODE FOR.
You must first create in your CMS a blank page with only a header and footer for each brand. The URL for this page will be entered in the Brand tool, identifying the page to pull the branded header/footer from.
You must include the following markers on the brand page you create in your CMS:
<!-onecount_header-> Place in the page where the header will END
<!-onecount_footer-> Place in the page where the footer will START
If you require a separate header/footer page for mobile, you must also create that page.
CREATE BRAND
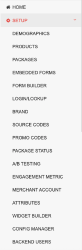
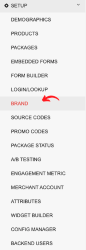
1. Select SETUP from the main menu.
2. Select BRAND from the sub-menu.
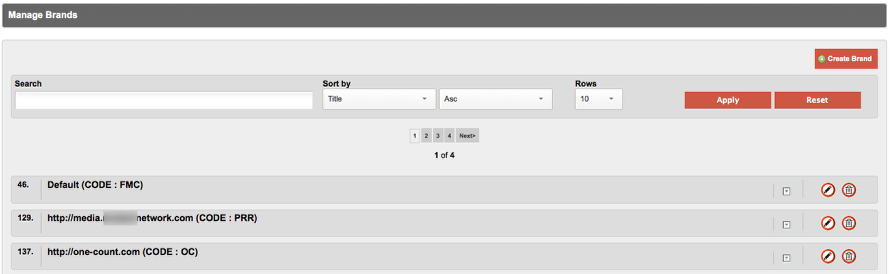
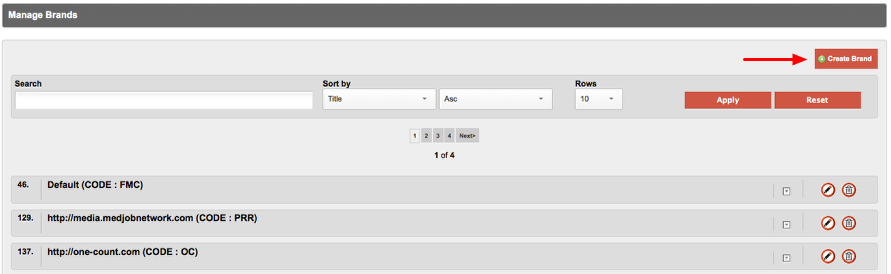
This will open the "Manage Brands" window, as shown below.
3. Select "Create Brand"
This will open the "New Brand" window.
4. Enter requested information in fields.
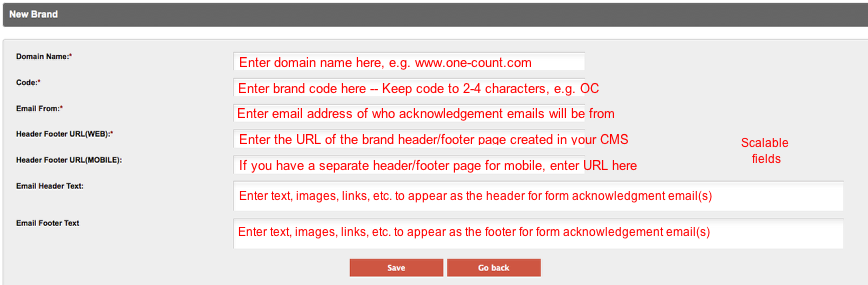
Note that required fields (Domain Name, Code, Email From, Header Footer URL (WEB) are marked with a red asterisk (*).
Domain Name *: Enter the domain name of your website where the forms will appear, e.g. www.one-count.com.
Code *: Enter a 2-5 character code to identify your brand, e.g. OC. The Brand Code will be appended to form links in the fomat of "&brand=OC", where OC = the code you create.
Email From *: Enter the email address you wish your acknowledgement emails to be from, e.g. From : GCN MEDIA<admin@gcnmedia.com>
Header Footer URL (WEB) *: Enter the URL of the brand header/footer page with markers that you created in your CMS. (See directions above.) Ensure this page is not restricted.
Example URL http://www.gcnpublishing.com/ index.php?id=36217
Header Footer URL (MOBILE): If you have created a separate header/footer page with markers for mobile, enter that URL here. Ensure this page is not restricted.
Email Header Text: Enter text or html that you wish to be displayed as the header of acknowledgement emails. Use the pop-up styling toolbar (shown below) to style text, and add images, links, and/or special characters to the header.
Email Footer Text: Enter text or html that you wish to be displayed as the footer of acknowledgemet emails. Use the pop-up styling toolbar (shown below) to style text, and add images, links, and/or special characters to the footer.
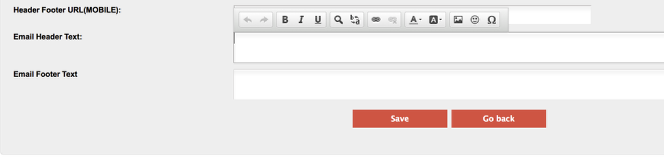
Clicking within the "Email Header Text:" and "Email Footer Text:" fields will bring up the styling toolbar, which you can use to stylize text, and add images, links, and/or special characters.
5. Click on the Save button.

To cancel brand creation, click "Go back".
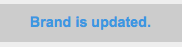
After saving, a confirmation message that the brand has been added will be displayed. (See below.)

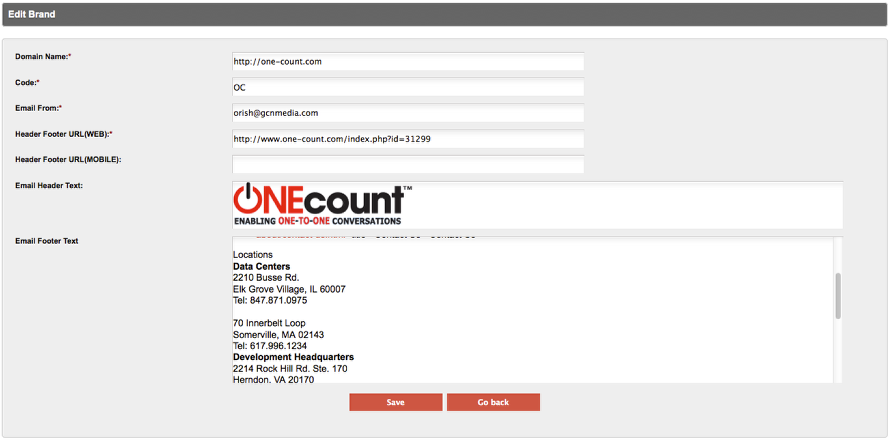
Example of a completed brand
APPEND THE BRAND CODE TO FORM LINK FOR FORMS TO DISPLAY ON BRANDED HEADER/FOOTER PAGE AND ACKNOWLEDGEMENT EMAILS TO CONTAIN FROM: LINE AND OPTIONAL HEADER/FOOTER TEXT/IMAGE.
*Standard Form URLS that DO NOT end with ".cgi" *
To append a brand code to a standard form URL that does not end with ".cgi", simply add &brand=CODE where CODE is the code you created. **
For example, you created the code ABC and the form link is http://ocreg.gcnmedia.com/onecount/reg/registerForm.cgi?form=58.
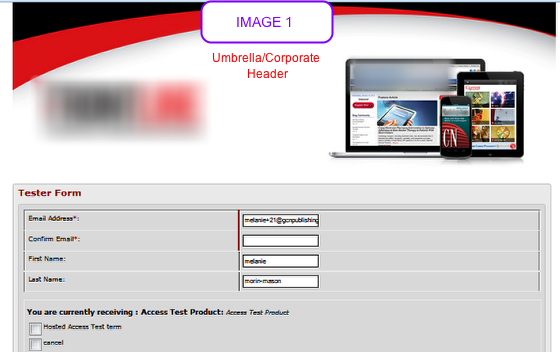
- Without the brand code, the form will display with a generic/umbrella header/footer. (See Image 1 below.)
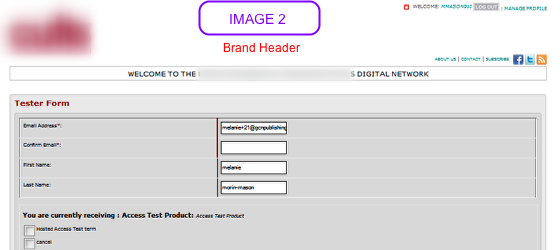
- Appending "&brand=ABC" to the link to make it http://ocreg.gcnmedia.com/onecount/reg/registerForm.cgi?form=58*&brand=ABC* will display the form on the ABC branded page created in your CMS. (See Image 2 below)
Form URLS that DO end with ".cgi"
To append a brand code to a link that ends in .cgi, such as a login/logout or password recovery link, add ?brand=CODE where CODE is the code you created. **
For example, http://ocreg.gcnmedia.com/onecount/login/loginlogout.cgi*?brand=ABC*
**This is a subtle, but critical difference: URLs that DO NOT end with ".cgi" use the format &brand=CODE and URLs that DO end with ".cgi" use the format ?brand=CODE
MANAGE BRANDS
1. Open the "Manage Brands" window. (See Steps 1 and 2 above.)
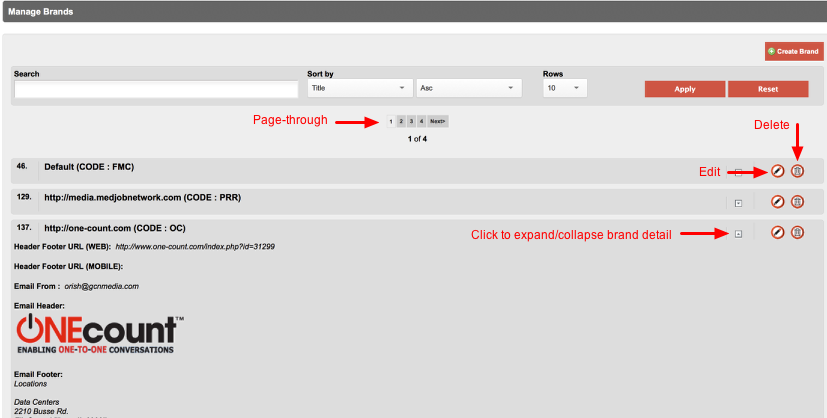
- The Manage Brands window includes edit and delete buttons for each brand.
- There is a page-through feature for a long list of brands.
- Beside each domain name and brand code, there is an expand/collapse button that allows you to expand each brand to see details.
EDIT BRAND
Select the Edit icon.

Clicking on the edit icon will open the "Edit Brand" window.
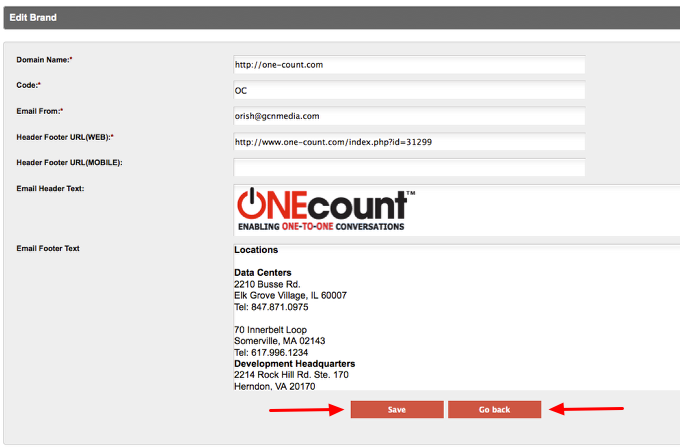
Make any changes to your brand, and click the Save button. After clicking "Save" you'll be returned to the Mange Brands window where a confirmation message, as shown below, will be displayed.
To cancel changes, click "Go back".
DELETE BRAND
Select the Delete icon.

Clicking the Delete icon will bring up a delete confirmation pop-up as shown below.

To cancel the deletion, select "Cancel".
To delete the brand, select "OK". After selecting "OK" you'll be returned to the Mange Brands window where a confirmation message, as shown below, will be displayed.

Search all Documentation:
Unknown macro: livesearch. Click on this message for details.
Search INVENTORY Documentation:
Unknown macro: pagetreesearch. Click on this message for details.
More INVENTORY Documentation: