Packages - How to Create a Package Part 3: Attach / Remove / Create a Product
The directions below provide detail on how to attach or remove an existing product to/from a package and how to create a new product.
After completing Parts 1 and 2 (creating package name, package description, primary form --and optionally attaching the package to other forms – and setting terms) and clicking Save, the window will expand and show the Products section. You can now add a product(s) to the package.
Remember that a package may not have a product attached (e.g. a print subscription product) and a single product may be attached to multiple packages.
Please refer to the Quick Start Guide- Packages for information on basic concepts and rules relating to package, terms, and products.
ATTACH A PRODUCT
1. Click "Add/Remove" in the PRODUCTS section.

This will bring you to the Products window which lists all existing products in alphabetical order.
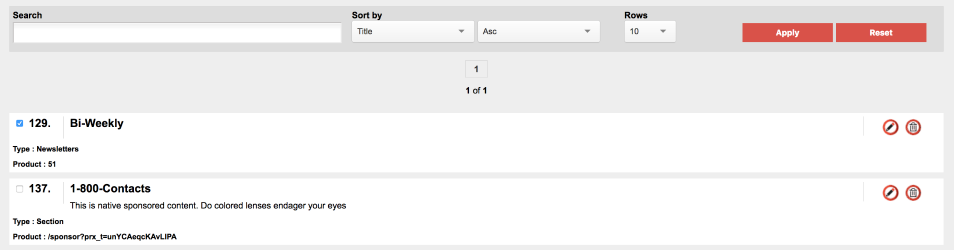
Notice the Search functionality to quickly find products. More detail on the Search feature can be found in the Global Features section.
2. Click in the check box to the left of the product(s) you would like to attach to the package.

When you select the product, it will move to the top of the product list.
3. Click on "Back to Edit Package" Link in upper right of page.

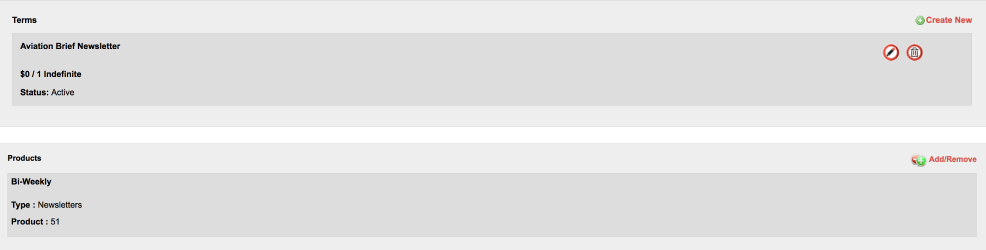
You will then be brought back to the Edit Package window where you will see the selected product(s) attached to the package. (See below.)

The product name, description, type, and product ID # will be displayed.
To add another product(s), repeat steps 1-3.
4. Click the "Save" button above Terms to save the package, terms, and products.

REMOVE A PRODUCT
1. Click on the "Add/Remove" link.

This will bring you to the PRODUCTS window which lists all existing products in alphabetical order. (See below.)
Notice the Search functionality to quickly find products. More detail on the Search feature can be found in the Global Features section.
Any products attached to the package will be at the top of the table.
2. Uncheck any products you wish to remove from the package.

3. Click on the "Back to Edit Package" link (shown in screen shot directly above), and you will see the product has been removed from the package.

4. Click the "Save" button above Terms to save the package, terms, and products.
CREATE A NEW PRODUCT
There are seven different types of PRODUCTS: File, Function, Newsletter, Page, Quiz, Section and Webinar. Details on each type of resource are given below.
1. Click on "Add/Remove" link.
This will bring you to the PRODUCTS page where you can create a new product.
2. Click "Create New Product" found in upper right of the Products page.

You will be directed to the New Product page.
3. Enter a title for the product and description for the product.

The title should be as brief but descriptive as possible. For example if the product is a newsletter, the title could be the name of the newsletter, or if the resource is access to a series of videos on page or section of your website, then the title could be the name of the video series.
5. Select the type of product (File, Newsletter, Page, Section).

Further detail on the different types of product is given below.
Product Type: File
To restrict access to a file, such as a specific whitepaper or other document, to subscribers/registered users only select Resource Type: File.
When you select "File" from the "Product Type:" drop-down menu, you will see the message “Files in the root folder directory can be protected from unauthorized downloads”.
1. Under "Choose File" select the file you wish to protect.
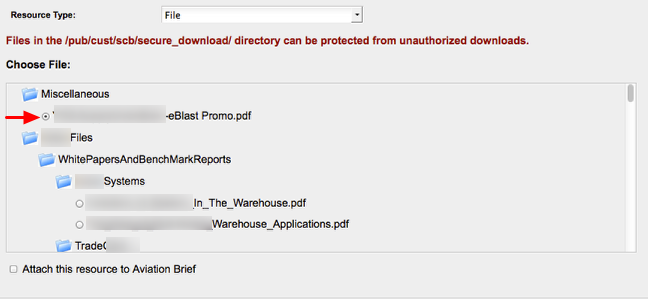
The directory tree of your root folder will be displayed, and you can select your file here. Note that ONEcount must be configured to connect with your download directory.
Check the box beside "Attach this product to package name".
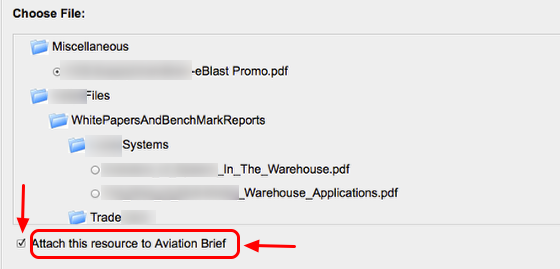
If you do not check the box, the product will not be attached to the package.
You may need to scroll down the page to find "Attach this product to package name" if you don't see it below the list of files.
3. Click "Save", and the file-type product will be saved.
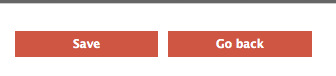
You will receive a confirmation message immediately after clicking "Save" indicating the time the product was saved.
To return to the products listing page, which will show your new product in the alphabetical list, click on the Go Back button.
Note: You may cancel product creation by clicking on the Go Back button before clicking Save. Doing so will bring you back to the Products listing page without creating a product.
Product Type: Newsletter
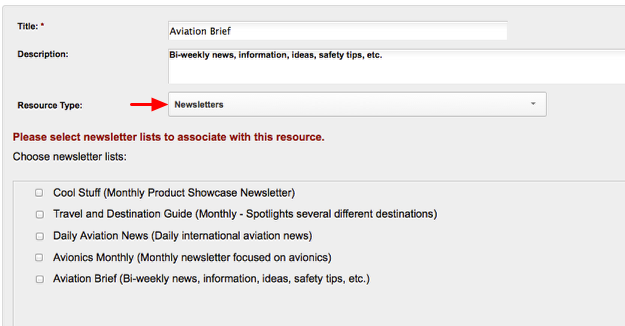
When you select "Newsletters" from the "Product Type:" drop-down menu, you will see the message "Please Select Newsletter lists to associate with this product." with a drop-down check box list of all existing newsletter lists (called subscriber lists the ONEcount Email Engine). This list of newsletter lists shows all of the existing newsletter/subscriber lists that reside in the Email Engine or in your email package if using an Email provider other than the ONEcount Email Engine. (Note that your system must be connected to ONEcount via API to use an outside Email provider.)
You can select the existing newsletter list(s) you wish to associate with the product - and by extension with the package - or create a new newsletter list (subscriber list). When you create a new Newsletter list, you are creating a new, empty list in the Email Engine that is associated with the Newsletter package.
*If using the Email Engine to manage your newsletter/email lists, when you create a new newsletter list (as described below) ONEcount will automatically create the list in the Email Engine. When users submit the subscription form for the package with the newsletter product, they will automatically be placed on the newsletter list in the Email Engine. Their demographic and subscription data will also be added the ONEcount database. If you are using a different email marketing provider, please check with GCN to verify if an API is available.
The product must be created and attached to a package prior to an import or user subscription via an online form. ONEcount won't push package subscribers to a newsletter package created after the user subscribed to a package (either through import or user action).
Package > Newsletter-Type Product > Newsletter List Heirarchy
The heirarchy is package > newsletter-type product > newsletter list, so if a user subscribes to a package that has an attached newsletter-type product and that product has multiple newsletter lists associated with it, the user will be subscribed to the package in ONEcount and added to each of the designated newsletter/subscriber lists in the Email Engine.
For example:
- You have a package called Newsletter Bundle that is a subscription to receive three different newsletters.
- The Newsletter Bundle package must have a newsletter-type product attached to it – in this case the name of the product is Newsletter Bundle-Daily/Weekly/Monthly.
- The Newsletter Bundle-Daily/Weekly/Monthly product has three different newsletter lists associated with it: Daily Aviation News, Aviation Brief, and Avionics Monthly.
- When a user subscribes to the Newsletter Bundle package, the subscription transaction is recorded in ONEcount, and (s)he is placed on all three lists in the Email Engine (or other Email provider).
Note that there may also be an individual package and product for each newsletter, so, for example:
There is an Aviation News (Daily) package.
The Aviation News (Daily) product has a newsletter-type product called Aviation News (Daily) attached to it.
The Aviation News (Daily) product has only the Daily Aviation News newsletter list associated with it.
When a user subscribes to Aviation News (Daily), the transaction is recorded in ONEcount and (s)he is placed only on the Daily Aviation News newsletter list in the Email Engine (or other Email provider).
1. To create a new newsletter list in the Email Engine, click on +"Add New Newsletter" button found in the upper right of the list of existing newsletters.
2. Enter the Newsletter Name (1) and Newsletter Description (2) then click "Add" (3).
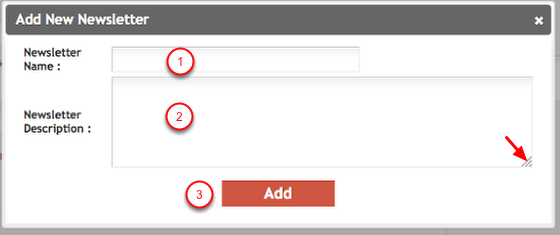
Note that the Newsletter Description box can be expanded by dragging the lower right-hand corner.
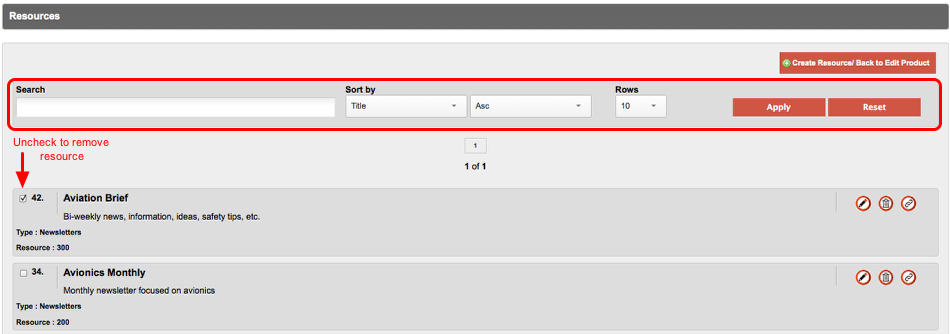
You will see the newly created newsletter, with a check mark, at the top of the newsletter list, as shown below.
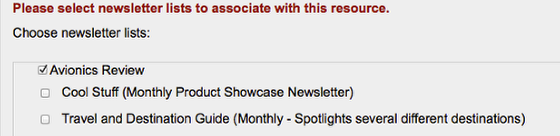
Select any other newsletter lists (if any) you wish to associate with this product.
3. Check the box beside Attach this product to package name".
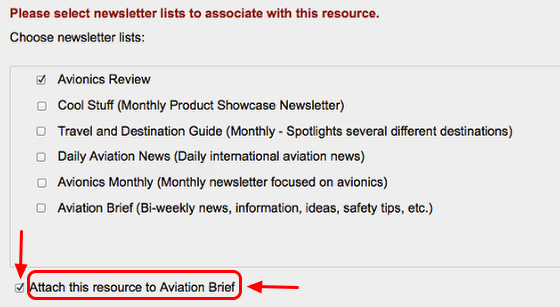
If you do not check the box, the product will not be attached to the package.
You may need to scroll down the page to find "Attach this product to package name" if you don't see it below the list of files.
4. Click "Save", and the newsletter product and list will be saved.

You will receive a confirmation message indicating the time the product was saved.
To return to the products listing page, which will show your new product in the alphabetical list, click on the Go Back button.
Note: You may cancel product creation by clicking on the Go Back button before clicking Save. Doing so will bring you back to the Products listing page without creating a product.
Product Type: Page
To restrict access to a web page on your site to subscribers/registered users only, select Product Type: Page.
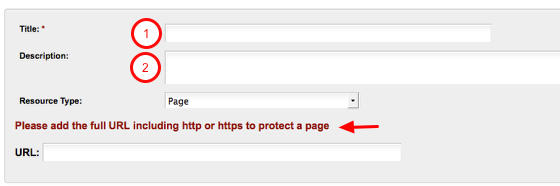
Give the product a Title (1) and Description (2).
When you select "Page" from the "Product Type:" drop-down menu, you will see the message “Please add the full URL including http or https to protect a page”.
1. Enter the full URL, including http or https, of the page that you wish to restrict access to.
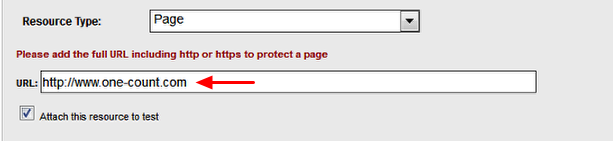
2. Check the box next to "Attach this product to package name.
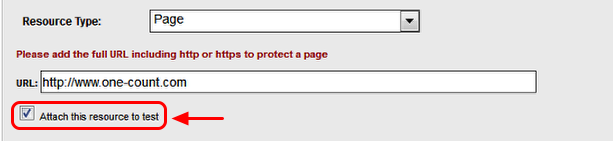
If you do not check the box, the product will not be attached to the package.
3. Click "Save", and the page-type product will be saved.

You will receive a confirmation message that indicates the time the product was saved.
To return to the resources listing page, which will show your new product in the alphabetical list, click on the Go Back button.
Note: You may cancel product creation by clicking on the Go Back button before clicking Save. Doing so will bring you back to the Products listing page without creating a product.
PRODUCT Type: Section
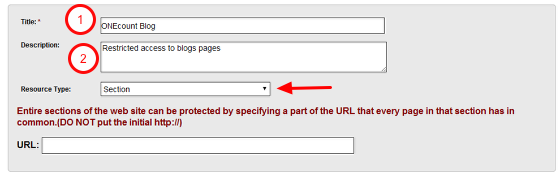
To restrict access to an entire section of your site to subscribers/registered users only, select Product Type: Section.
Give the product a Title (1) and Description (2).
When you select "Section" from the "Product Type:" drop-down menu, you will see the message “Entire sections of the web site can be protected by specifying a part of the URL that every page in that section has in common. (DO NOT put in the initial http://)"
1. Enter the part of the URL that every page in the section has in common.

This will restrict access to all blogs pages in the onecount.com site. (The part of the URL that all pages have in common is the highest level page in the page hierarchy – all sub-pages below /blogs will be restricted, e.g. onecount/blogs/blog1, onecount/blogs/blog2, etc. would be restricted.)
2. Click the box next to "Attach this product to package name."

If you do not check the box, the product will not be attached to the package.
3. Click "Save", and the section-type product will be saved.

You will receive a confirmation message indicating the time the product was saved.
To return to the products listing page, which will show your new product in the alphabetical list, click on the Go Back button.
Note: You may cancel product creation by clicking on the Go Back button before clicking Save. Doing so will bring you back to the Products listing page without creating a products.
VIEWING PACKAGE WITH NEW PRODUCT ATTACHED
1. Select " PACKAGES" from the INVENTORY sub-menu.

This will bring you to the Manage Packages page, as shown below.
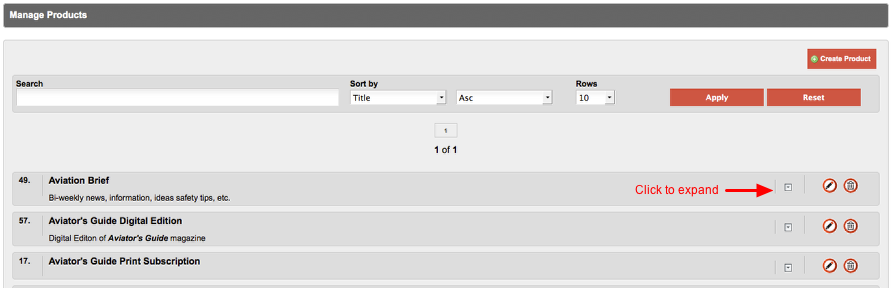
2. Expand the package to see Terms and Resources (if any).

Note that you can edit and/or create new terms and add/remove products from this expanded view. For more detail, see How to Manage Packages.
To view and edit all three parts of the product, go to Step 2.
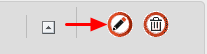
2. Click on the "Edit" icon for the package you attached the product to.
This will bring you to the "Edit Package" page.
3. Scroll to the "Products" section at the bottom of the "Edit Package" page .

You will see the products that are attached to the package. This list should include your newly-created product.
View of a completed product-type package:

Search all Documentation:
Unknown macro: livesearch. Click on this message for details.
Search INVENTORY Documentation:
Unknown macro: pagetreesearch. Click on this message for details.
More INVENTORY Documentation: