Add Audience
This lesson describes how to add user records to the ONEcount databas one at a time. Once a user record is added, you may immediately subscribe the new user to any product.
OPENING THE BULK OPERATION WINDOW
Select DATA MANAGEMENT from the Main Menu.
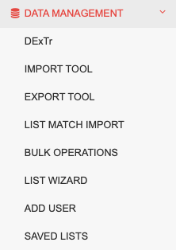
Select "ADD USER" from the DATA MANAGEMENT sub-menu.
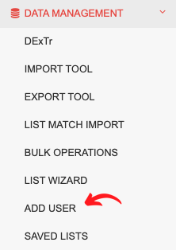
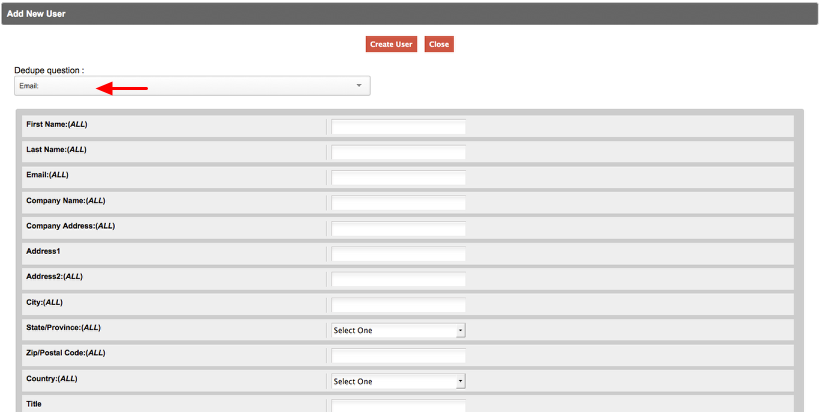
This will open the Add New User window, as shown below.
ADD A NEW USER
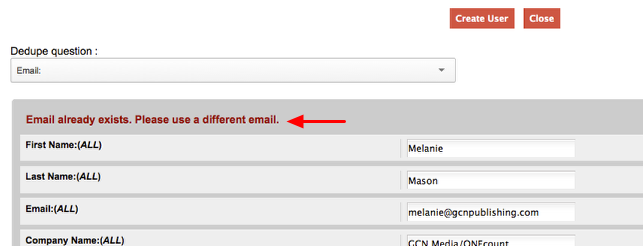
1. Select question to on which to dedupe (1) and enter all demographic information in the respective data field (2).
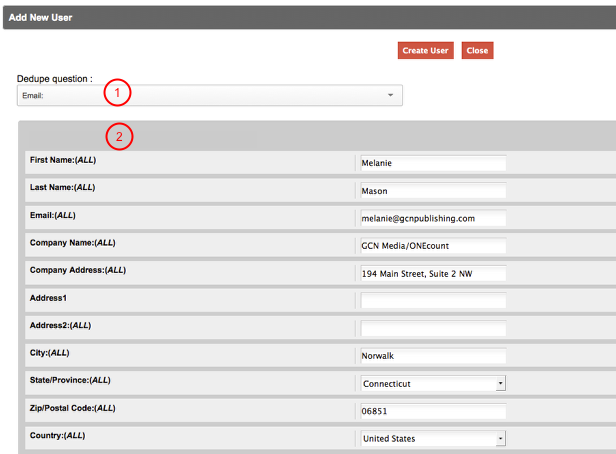
Questions/data fields are listed in the order set in the Question Manager. See Question Manager documentation for more information on ordering questions.
Note that there are no required fields in the Add New User window, and it is not linked to any particular form. It is a listing of all available questions/data fields in your database, so when entering user information please be sure to include all required demographic data for a complete record.
"Dedupe Question" allows you to select any question in your database to identify a duplicate, i.e. if you select email as the dedupe question and enter an existing email the system will identify the record as a duplicate. (See screenshot below.)
2. When all data has been entered, click "Create User" to add the record to the ONEcount database.
Clicking on "Close" will close the window without adding the record.
After clicking on "Create User", the User Detail window will open, as shown below.
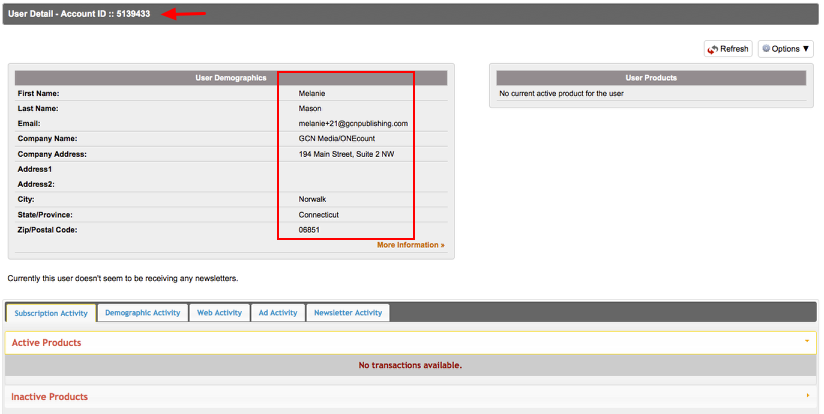
Note that an ocid has been assigned and demographic information populated.
3. To subscribe the user to a product(s), click on "Options" (1) then select "Edit Subscriptions" (2).

This will open the Edit Subscription window, where you can select to subscribe the new user to any product(s).
4. Click on "Subscribe" to subscribe to any product(s).
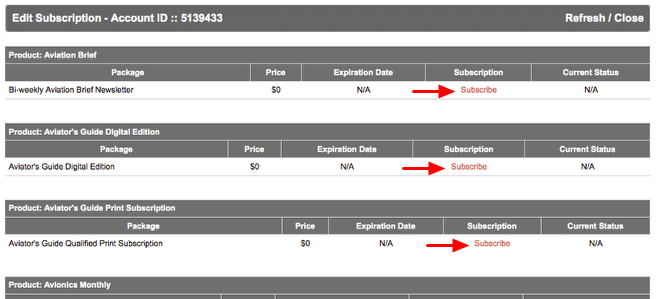
Note that there is no Expiration Date or Current Status applied for the product.
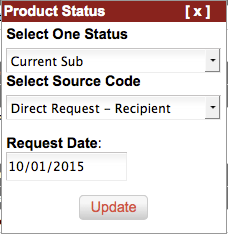
Upon selecting "Subscribe", a pop-up window allowing you to select product status, source code, and request date will be presented, as shown below.
5. Select the product status (1), source code (2), and request date to apply from the drop-down menu then click "Update".
The subscription will be updated immediately, as shown below.

Note that an Expiration Date has been added, the Subscription options have been changed to Renew/unsubscribe – indicating that the user is now subscribed, and the Current Status has been changed to the selected status (CURRENTSUB in this case). The selected source code has also been applied to the record, but is not shown in this view.
6. When done subscribing the new user to product(s), click on "Close".

After clicking "Close" you will be returned to the User Detail window.
7. Cick on the Refresh button in the User Detail window.
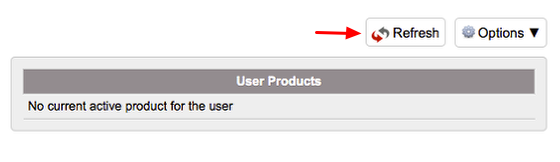
Notice that prior clicking on the "Refresh" button, there are no active products listed under "User Products".
After clicking on the "Refresh" button, product(s) subscribed to in the steps above now appear under "User Products" as well as under the "Subscription Activity" tab as shown below.
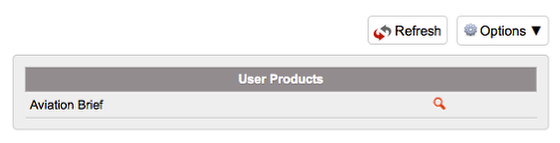

Note that the selected source code shows in this view.
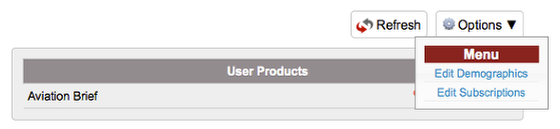
If, after adding the new user and subscribing to product(s), you wish to add and/or edit demographic information or subscriptions, you may do so by returning to "Options" and selecting "Edit Demographics" or "Edit Subscriptions". (See below.)
Search All Documentation:
Unknown macro: livesearch. Click on this message for details.
Search USER OPERATIONS Documentation:
Unknown macro: pagetreesearch. Click on this message for details.
More USER OPERATIONS Documentation