Bulk Operation - How to Perform a Batch Subscribe
This lesson describes how to use the Bulk Operation tool in the USER OPERATIONS module to perform a batch subscribe to a new product.
Please refer to the Quick Start Guide - User Operations for important information about basic concepts and rules relating to imports and bulk operations.
OPENING THE BULK OPERATION WINDOW
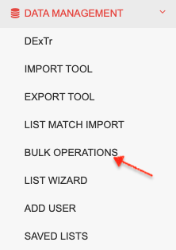
Select DATA MANAGEMENT from the Main Menu.

Select "BULK OPERATIONS" from the DATA MANAGEMENT sub-menu.
This will open the Bulk Operation main window, as shown below.
Bulk Operation Main Window

1 - Copy and paste a delimiter separated list of ONEcount IDs.
2 - Select the bulk operation: Status Change will change the status of ocids entered in Box 1, Product Change will change the product all ocids entered in Box 1 are assigned to, Unsubscribe/Kills will unsubscribe all ocids entered in Box 1 from a designated product, Subscribe will subscribe all ocids entered in Box 1 to a designated product, Delete will delete all ocids entered in Box 1, and Merge will merge ocids enterd in Box 1.
3 - Select the delimiter used in the list of ONEcount IDs (Box 1).
4 - Select the status to apply to the Status Change, Product Change, Unsubscribe/Kill, or Subscribe.
5 - Select the Product(Term) that the Status Change, Product Change, Unsubscribe/kill, or Subscribe applies to. If Product Change is selected, "Select the product(Term)" will change to "Select the Product(Term)[FROM} and another box "Select the Product (Term)TO will be added. See details on Product Change below.
PERFORMING A BATCH SUBSCRIBE
1. Copy and paste the ONEcount IDs of users you wish to subscribe to the new product.
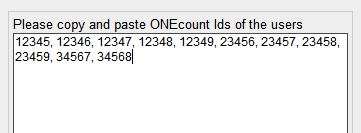
ONEcount IDs may be selected by running a list as described in List Wizard lessons.
You will need to select the delimiter used in this list in Step 5.
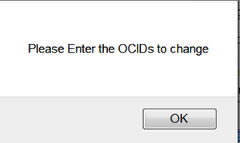
If no ONEcount IDs are entered, when you complete the steps below and select "Process" a pop-up will appear prompting you to enter IDs. (see below)
2. Select Subscribe.
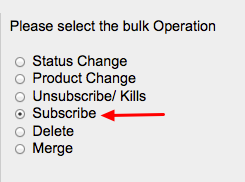
Status Change is selected as the default.
3. Select the delimiter used in list of ONEcount IDs that were entered.

In the example in Step 1, the delimiter is a comma. Other choices include Tab, New Line (each ID on a new line), or Other (e.g. semicolon, colon).
If you do not select a delimeter, when you complete the steps below and select "Process" a pop-up will appear prompting you to select a delimiter. (see below)
4. Select the Status to apply to the new subscription.
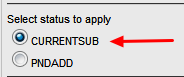
Product Statuses are created in the ONEcount Product Manager.
If you do not select a status, when you complete the steps below and select "Process" a pop-up will appear prompting you to select a status to apply. (see below)
5. Select the product to subscribe to.
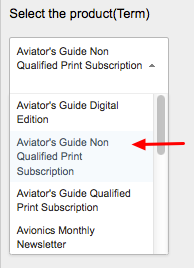
The heading here is "Select the product(Term)..." because each term for each product is included in the list. Some products have more than one term, so this list shows all products and terms.
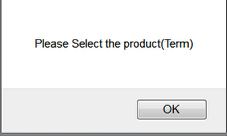
If you do not select a product, a pop-up will appear prompting you to select a product. (See below.)
6. Scroll to the bottom of the screen and click "Process".

7. If all users entered in Step 1 are not subscribed to the product selected, a confirmation message will appear indicating the total number of new subscriptions .
Total subscribes represents the total number of users newly subscribed to the product in ONEcount.
** "Total users added to Email Engine" represents the total number of users added to a newsletter / mail list in the ONEcount Email Engine. This will only apply if the product has a newsletter-type resource attached to it.
8. If some of the users listed in Step 1 are not subscribed to the product selected, the following message will be displayed.

You can download the list of ONEcount IDs of those users who are already subscribed to the product and/or continue with subscribing the remaining users to the product.
If you choose to download the list of users who are already subscribed to the product, the download window will open and the ONEcount page will remain open. You can download your list, then select "click here to proceed further with subscribing remaining users" to proceed with subscribing those users who aren't already subscribed to the product.
If you don't wish to download the list of users who are already subscribed to the product, select "click here to proceed further with subscribing remaining users."
8a. After selecting to proceed with subscribing users, the following confirmation message will be displayed. Select "OK" to continue with the subscription process.
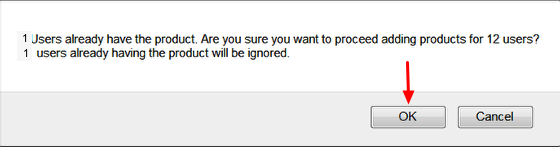
Users who are already subscribed to the product will be ignored.
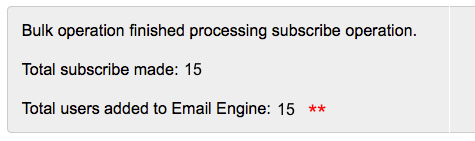
8b. When ONEcount has finished processing the changes, the following confirmation message will be displayed.

"Total subscribes made" represents the total number of users newly subscribed to the product.
"Total users added to Email Engine" represents the total number of users added to a newsletter / mail list in the phpList email engine. This will only apply if the product has a newsletter-type resource attached to it.
Search All Documentation:
Unknown macro: livesearch. Click on this message for details.
Search USER OPERATIONS Documentation:
Unknown macro: pagetreesearch. Click on this message for details.
More USER OPERATIONS Documentation